# Multi-Screen Adaptation
To enhance the development experience, AIoT-IDE has built-in **** features that allow a single set of code to run on multiple different device screens, testing the adaptation effect on different screens.
# Multi-Device Emulator Creation
To recreate the most realistic multi-screen adaptation development scenario, AIoT-IDE provides multiple emulators with different device size configurations and different image versions to test applications on various devices with different image systems.
Currently, three images are available for selection
vela-miwear-watch-5.0Stable release version of vela5.0vela-miwear-watch-4.0Stable release version of vela4.0vela-watch-4.0Development version of vela
Currently, six devices with different screen sizes are available for creation:
xiaomiWatch 466*466
redmiWatch
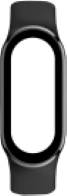
xiaomiBand
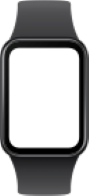
xiaomiBandpro
xiaomi10Band
xiaomiSoundMini
Currently, when creating an emulator, vela-miwear-watch-5.0 and vela-miwear-watch-4.0 only support one device type with the xiaomiWatch (466*466) size, while vela-watch-4.0 supports all the above device types and can also be customized for device type creation.
Note
There is a performance difference between the emulator and the real device
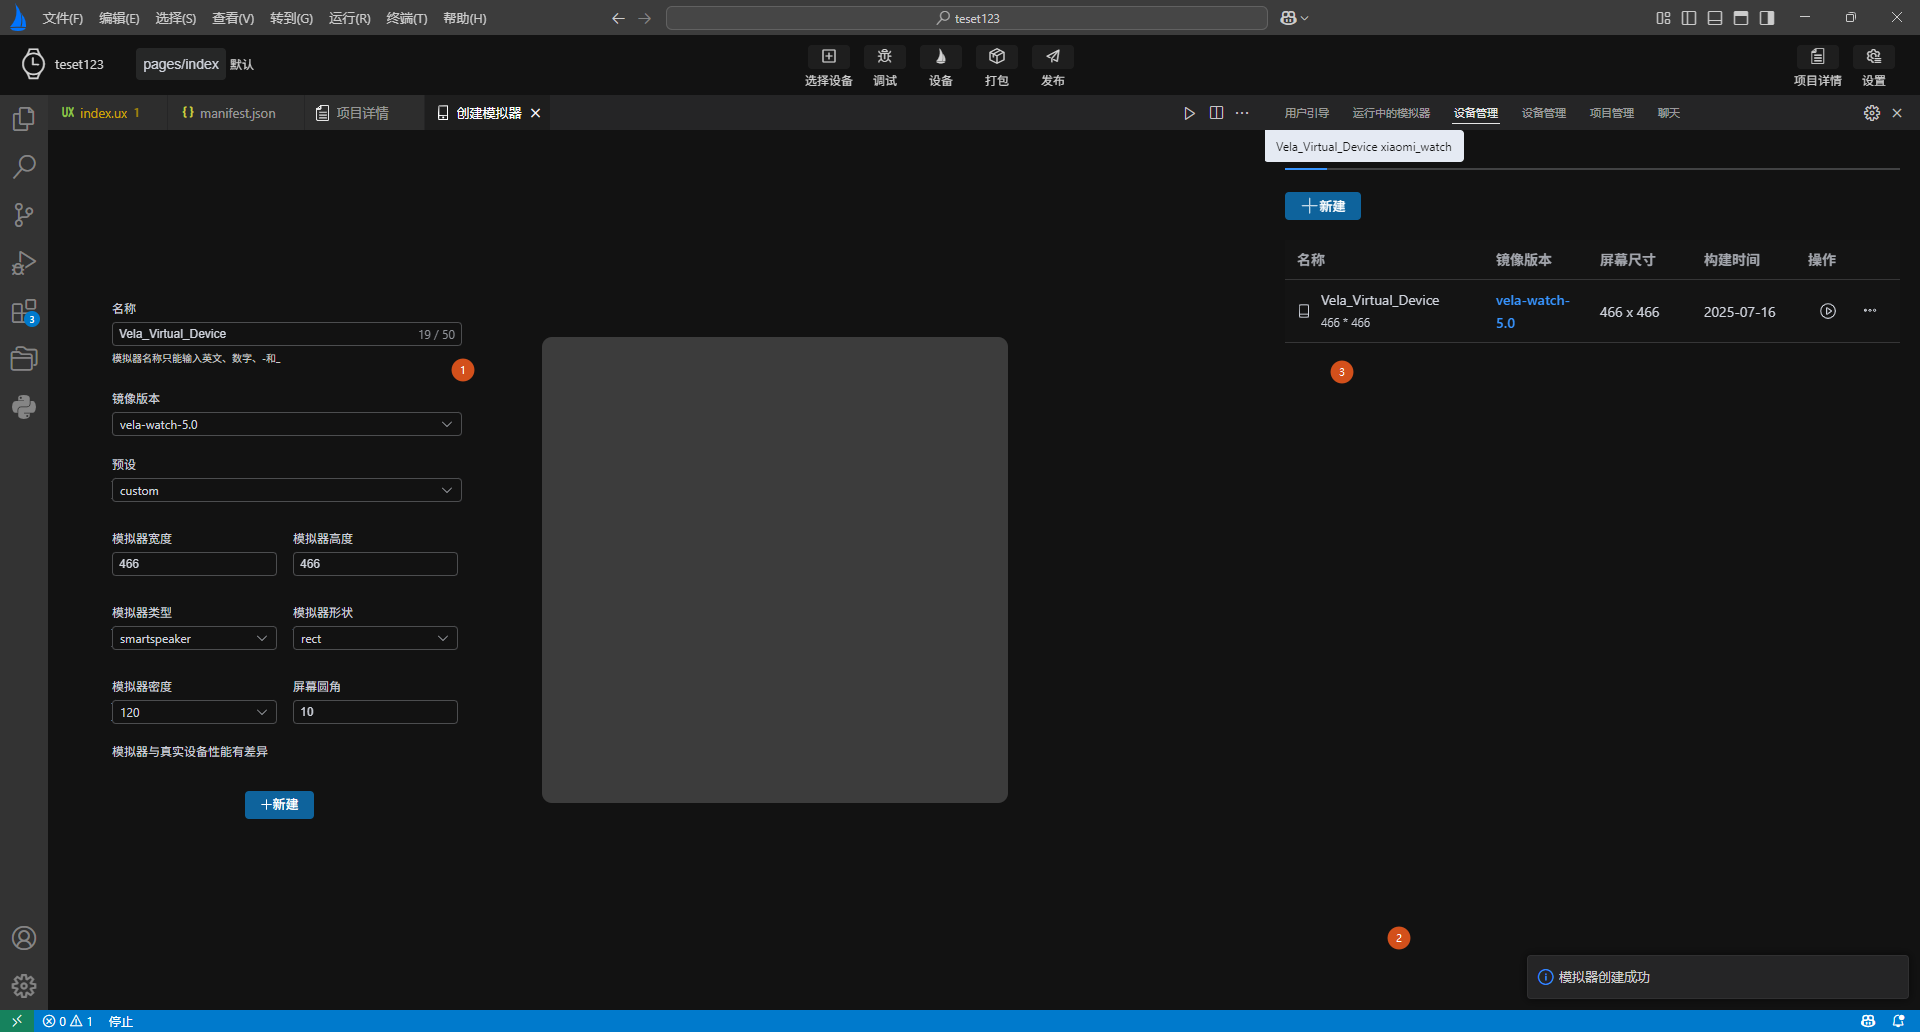
# Custom Emulator
In addition, to support more device sizes, when creating an emulator, you can also choose the custom option for the emulator, which provides the following custom configurations:
- Customize the emulator's width and height (width and height less than 800 and greater than 100), emulator shape, emulator density, etc.
- Customize and set the emulator type, currently mainly watch, band, smartspeaker
- Customize the emulator shape, currently there are two main shapes circular and rectangular, with the rectangular shape allowing customization of rounded corners
- Customize the emulator screen DPI

After clicking the new button at the bottom and completing the emulator creation, AIoT-IDE will pop up a success prompt in the lower right corner, and the device management page will update the created emulator in real-time.
# Multi-Screen Preview
After creating emulators of different device types, when starting the emulator through the Debug or Run button, select the corresponding emulator for different devices and click OK to run them simultaneously.
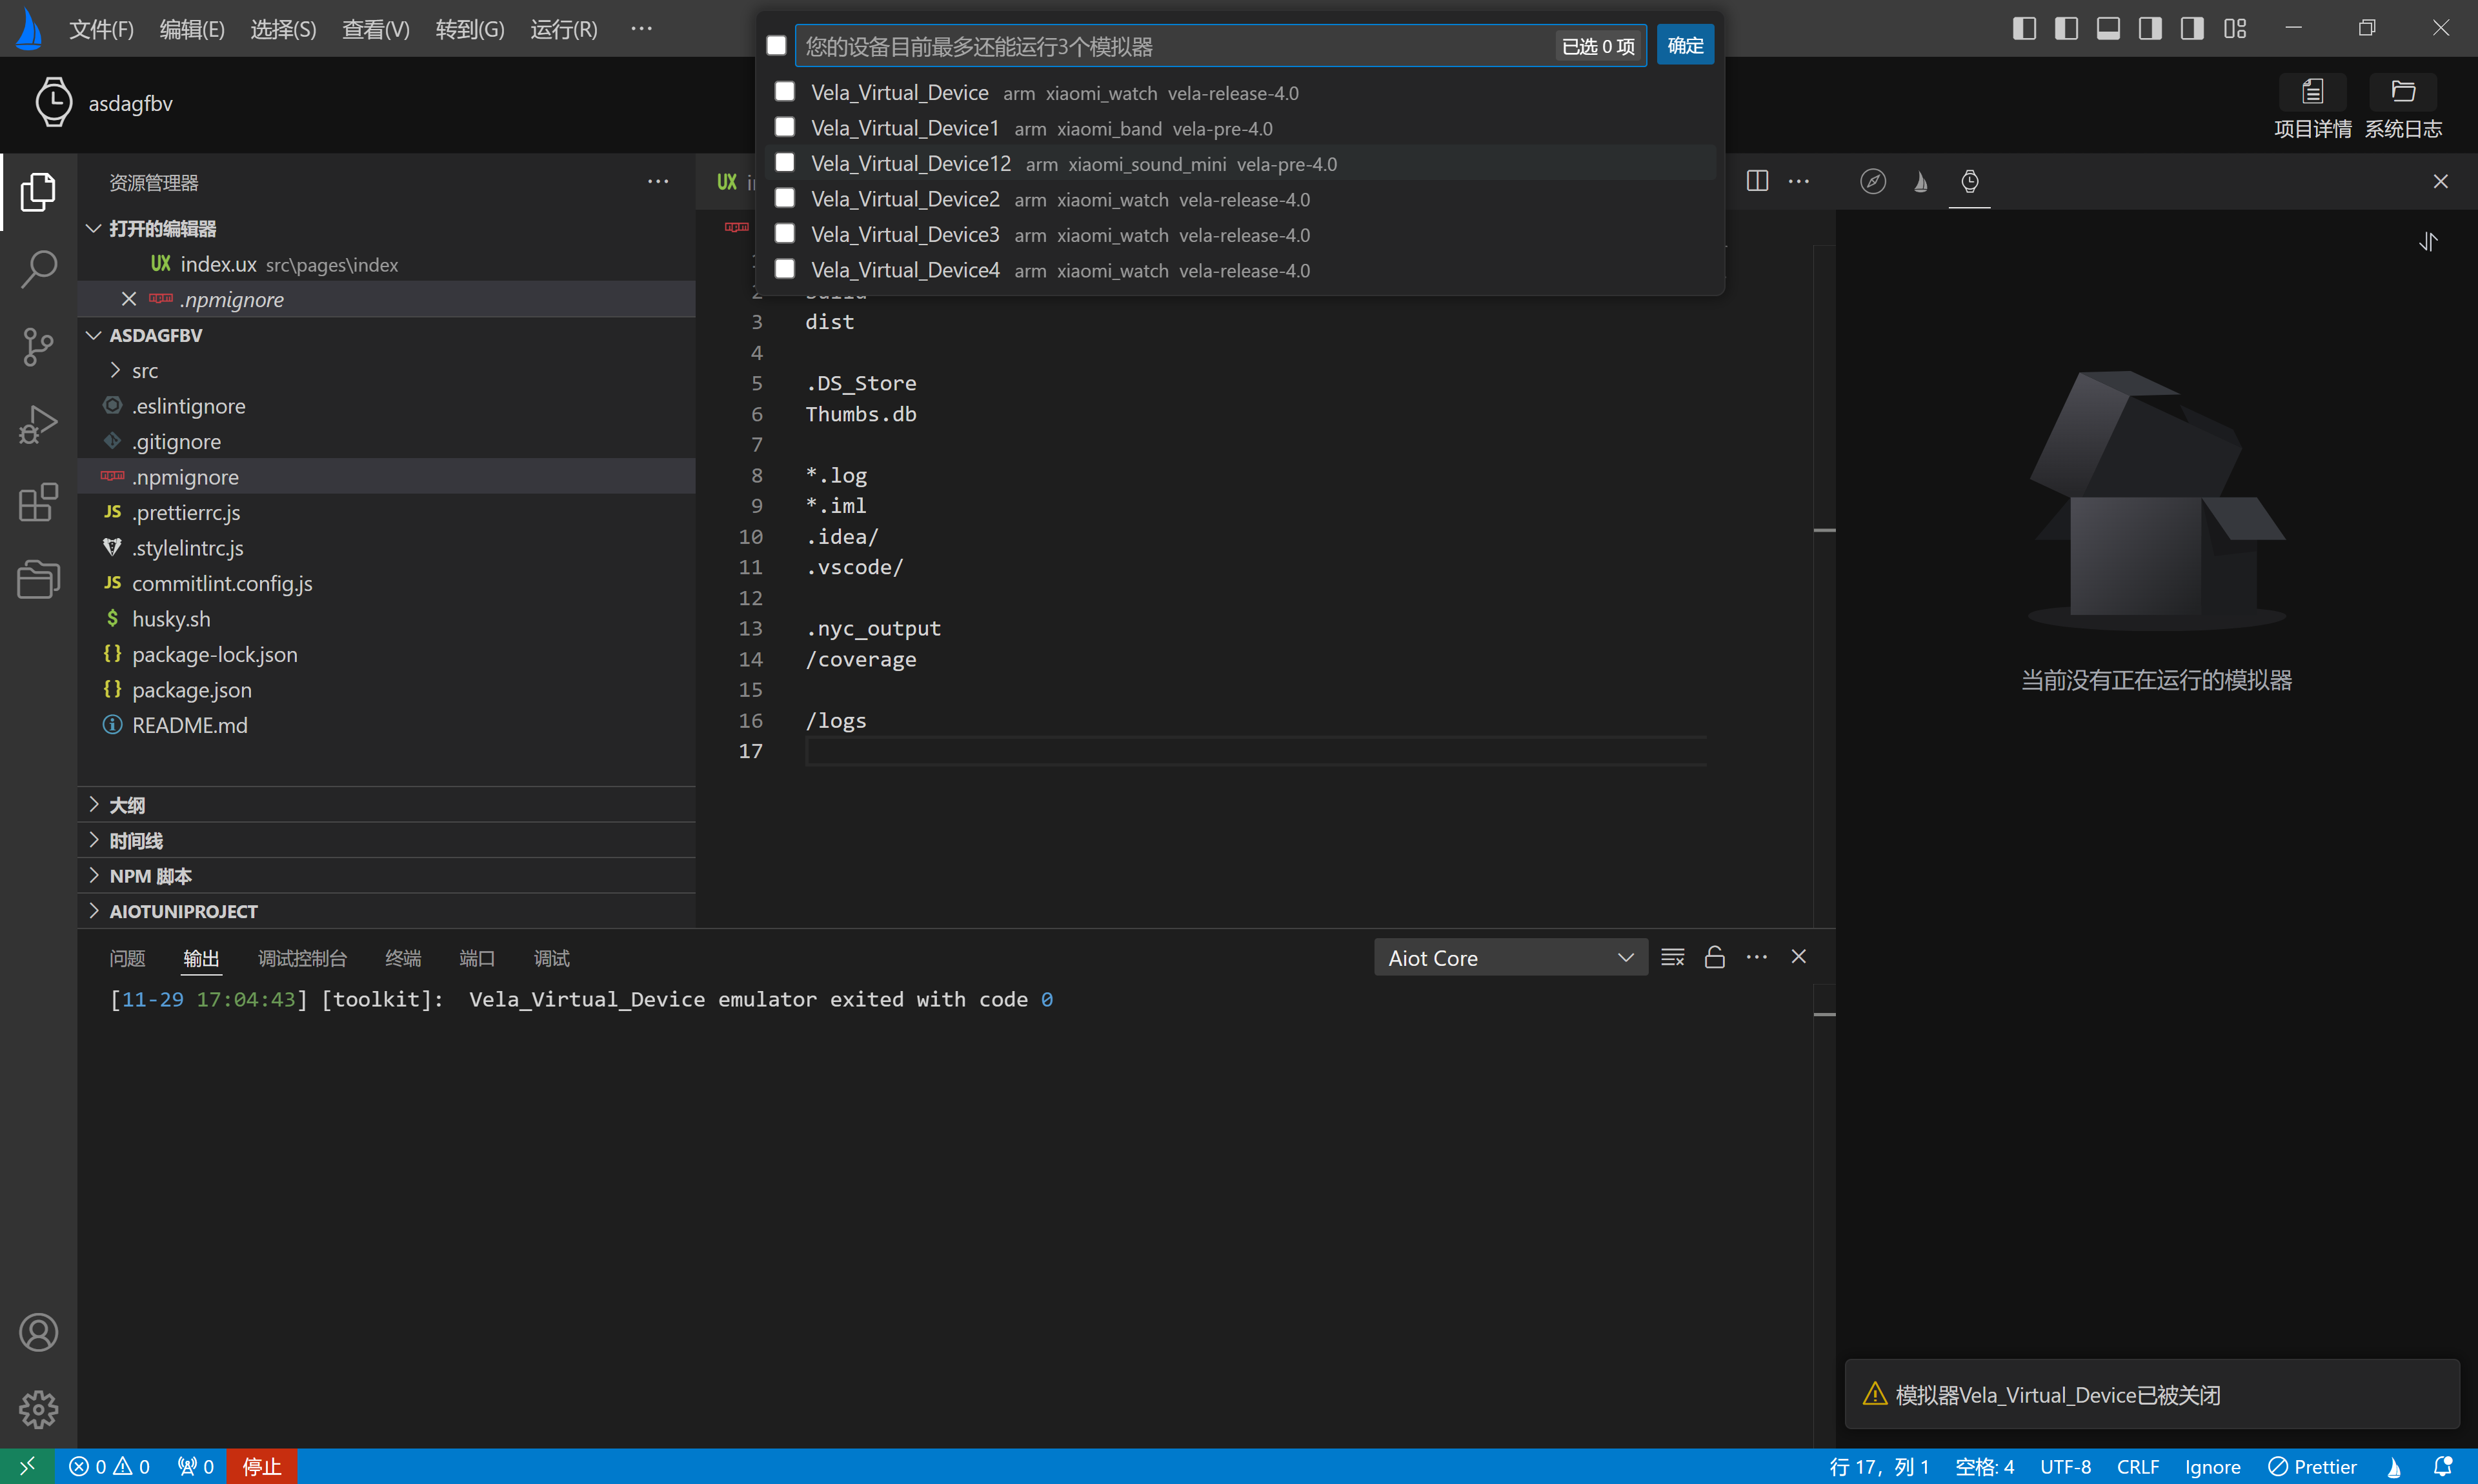
After successful operation, the emulator preview page will display the preview effects of different device screens.

# Custom Emulator Skin
In addition, if users are not satisfied with just customizing the display effect of the emulator and hope to preview the emulator device more realistically, we also provide the function of customizing the skin.
# Vela Emulator Skin Group
To create a skin, two images and a configuration file are required:
background.pngis the main image of the device, requiring the screen area to be blackforeground.pngis used to cover the part outside the emulator screen.- layout configuration file, mainly used to configure the layout information of the skin's required
background.pngandforeground.png
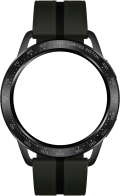
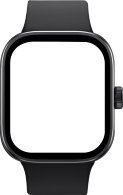
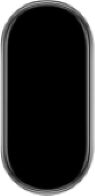
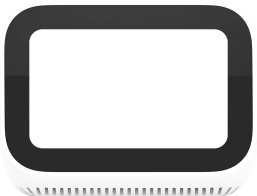
Among them, foreground.png is generally cut from the background image with the emulator screen part modified to transparent color. The comparison between without foreground.png and with foreground.png is as follows:
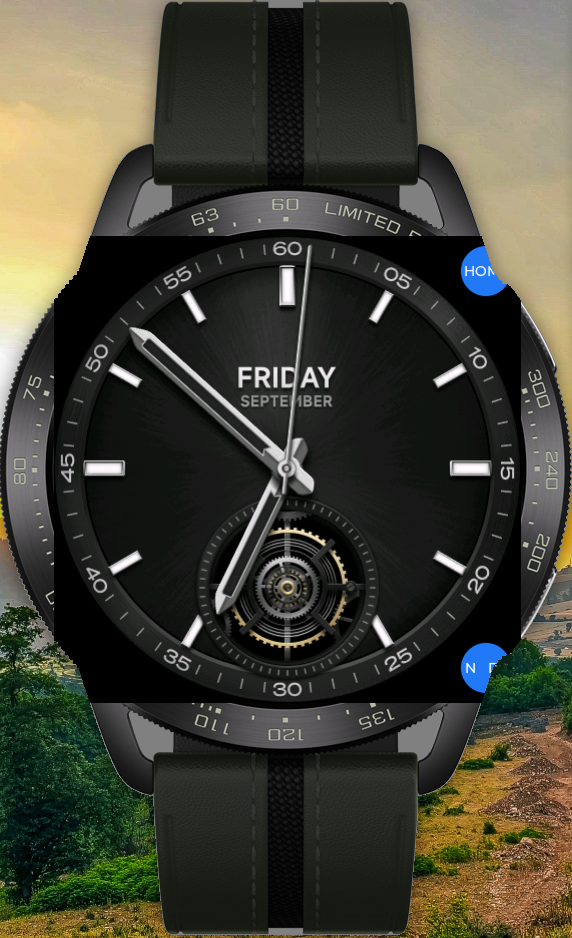
foreground.png not configured

foreground.png configured
# Creation of Layout File
Copy the following code and modify the information according to the comments, keeping the rest unchanged.
  parts {
    device {
      display {
        # Emulator size
        width 466
        # Emulator size
        height 466
        # x and y fill 0
        x 0
        y 0
      }
    }
    portrait {
      background {
        # Name of the background image
        image background.png
      }
      foreground {
        # Name of the foreground image
        mask foreground.png
      }
    }
  }
  layouts {
    portrait {
      // The size of the entire skin, usually using the pixel size of the background image
      width 572
      height 938
      event EV_SW:0:1
      part1 {
        name portrait
        x 0
        y 0
      }
      part2 {
        name device
        # The starting coordinates of the foreground image when cutting from the background image, calculated with the top left corner as 0,0
        x 54
        y 236
      }
    }
  }

  // Fields that will be passed to the underlying configuration when creating the emulator
  props {
    // Screen shape. Optional values: circle (circular), rect (rectangular), pill-shaped (capsule-shaped screen eg: full-screen bracelet)
    shape circle
    // Screen density, optional values: ['120', '140', '160', '180', '213', '240', '280', '320', '340', '360', '400', '420', '440', '480', '560', '640']
    density 320
    // Device type, optional values: phone (mobile phone), watch (watch), pad (tablet), car (car), tv (television), band (bracelet), smartspeaker (speaker), default is watch
    flavor watch
  }
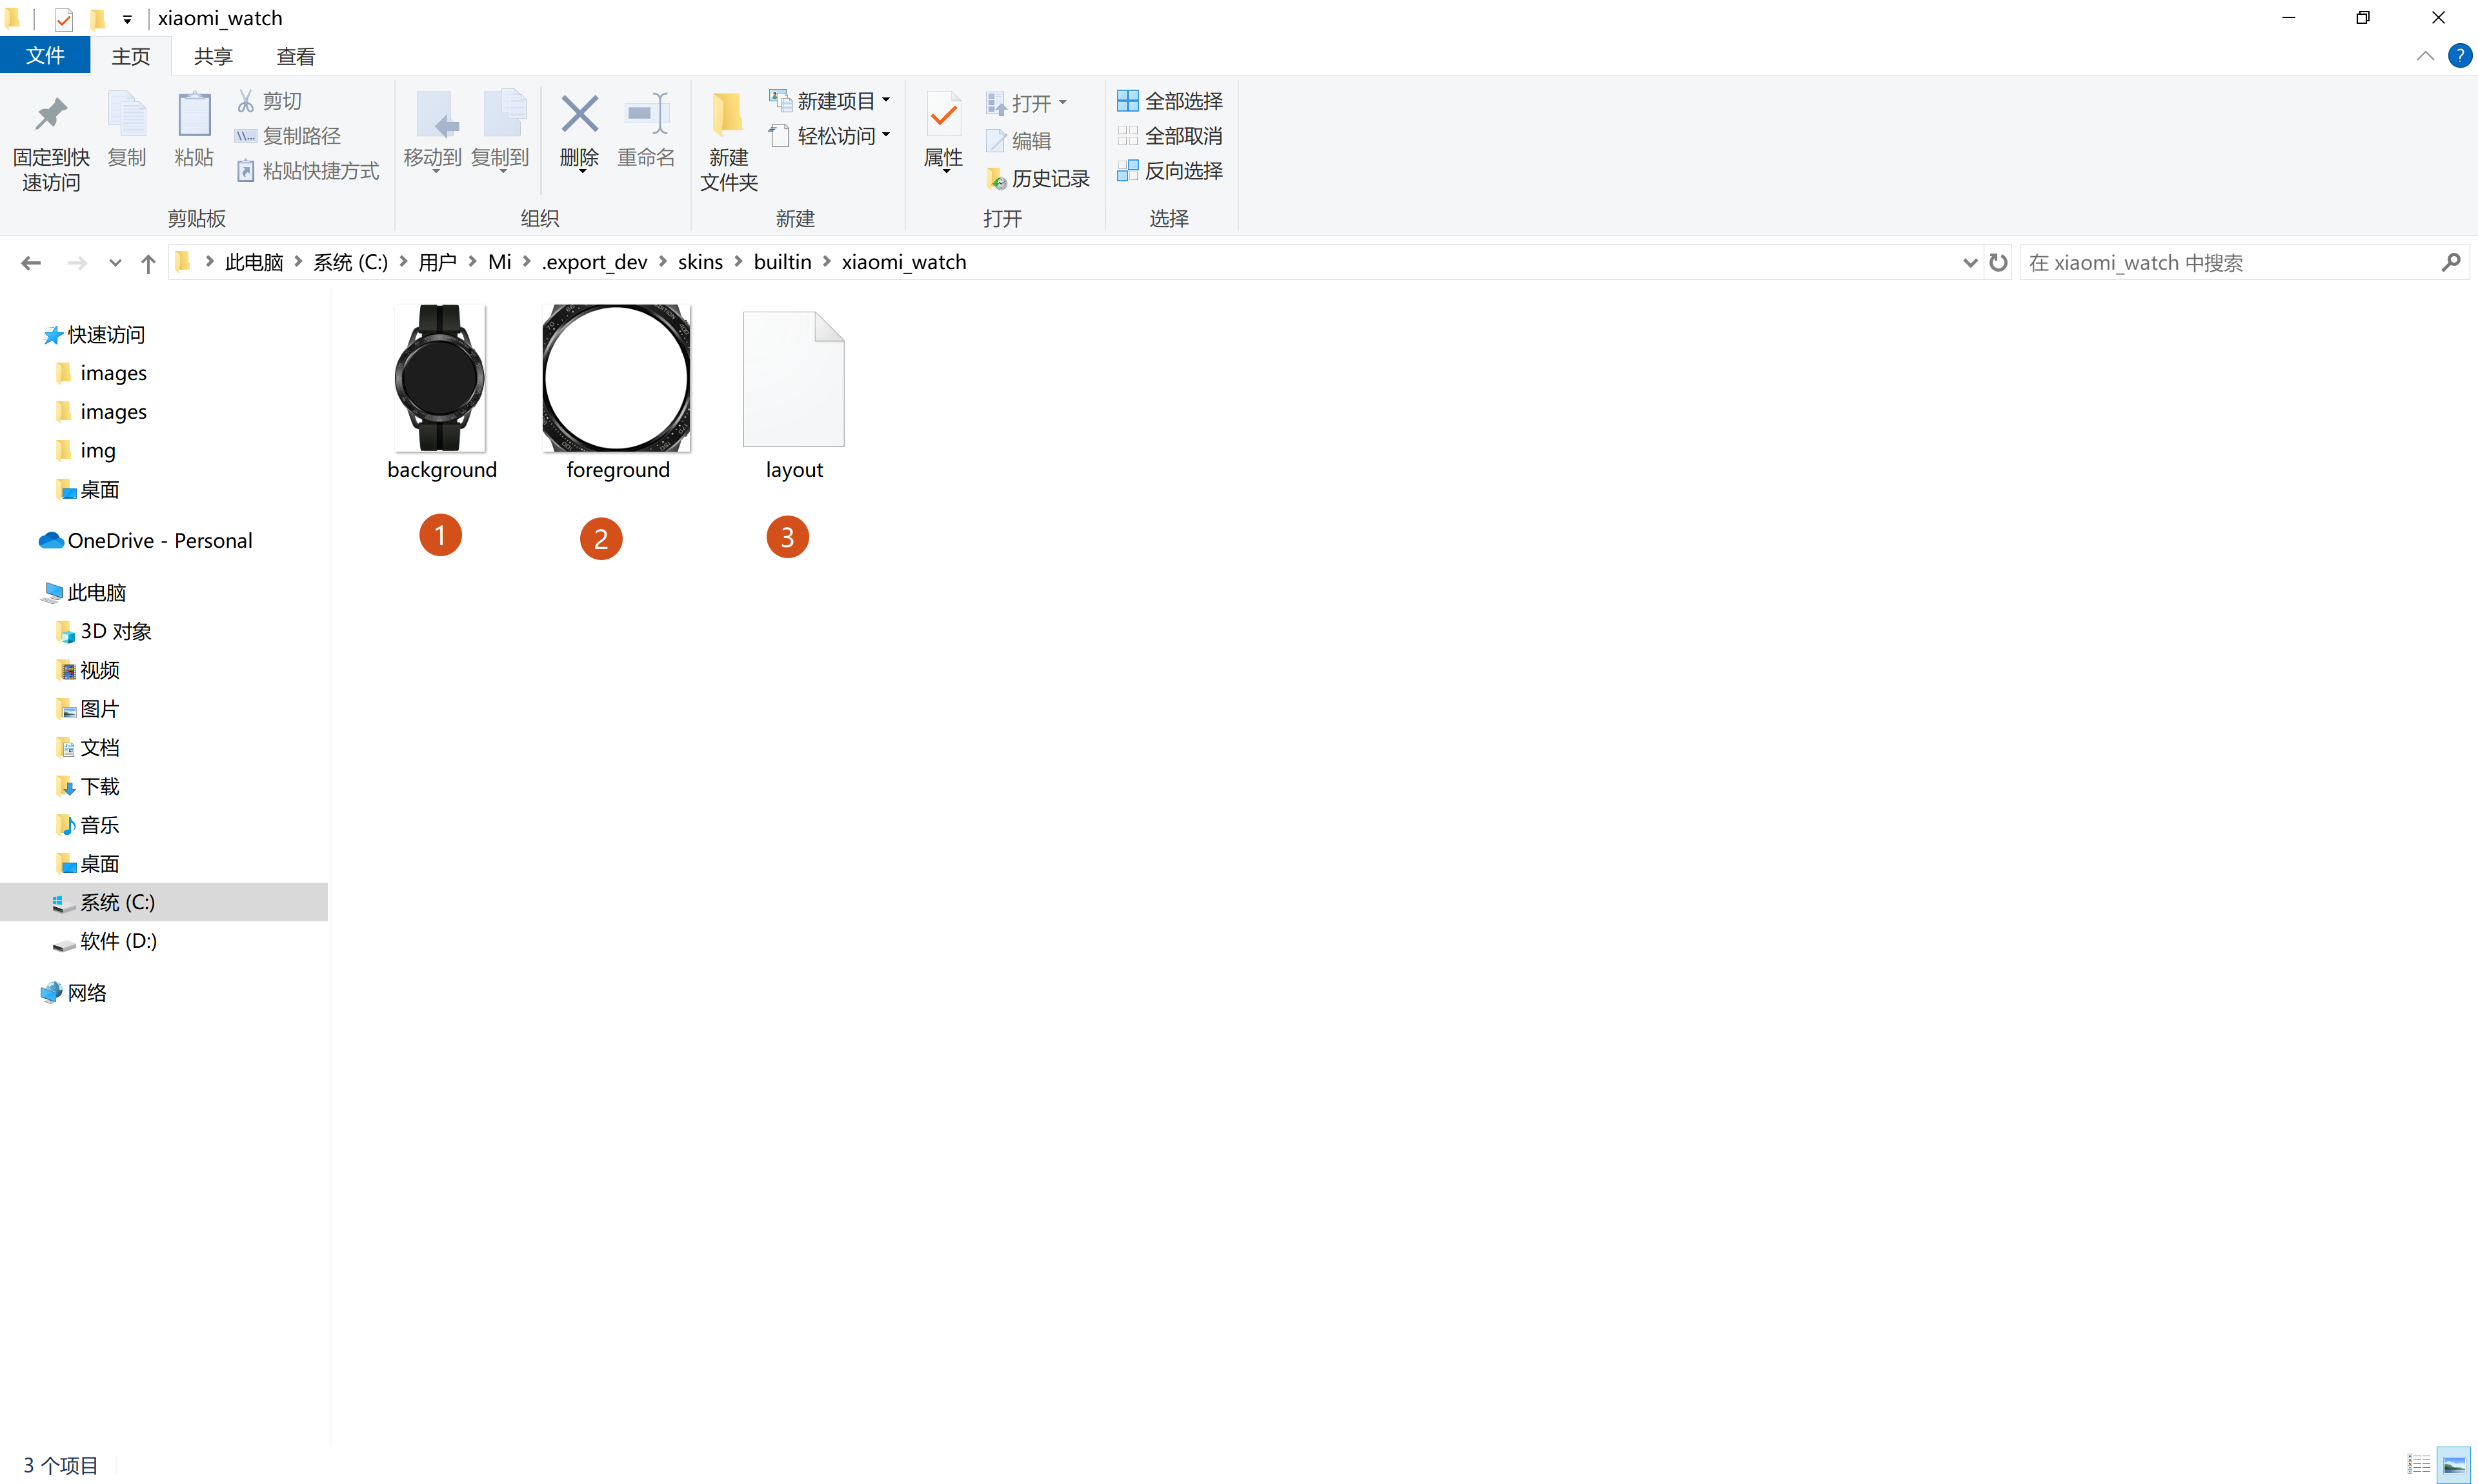
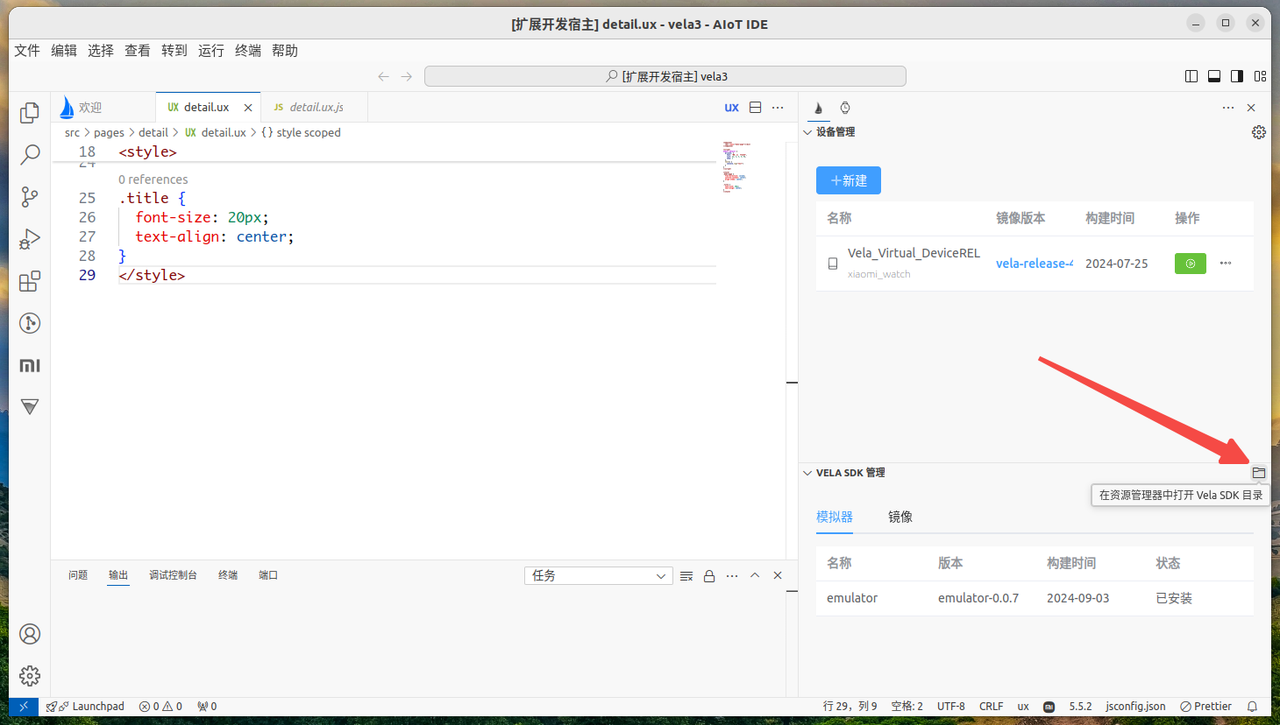
# Application of Skin File
Open the SKD directory through AIoT-IDE. There is a skins directory under this directory. Create a new folder named after your skin under the skins/user directory, and place the created files into it. If there is no user directory under skins, first create the user directory. Then, when using the IDE to create an emulator, you can choose to apply this skin.
Note
The SDK directory is a directory starting with a dot. Please enable the display of hidden files in the operating system before proceeding.
# Detailed Explanation of Layout
The content in the layout file is as follows:
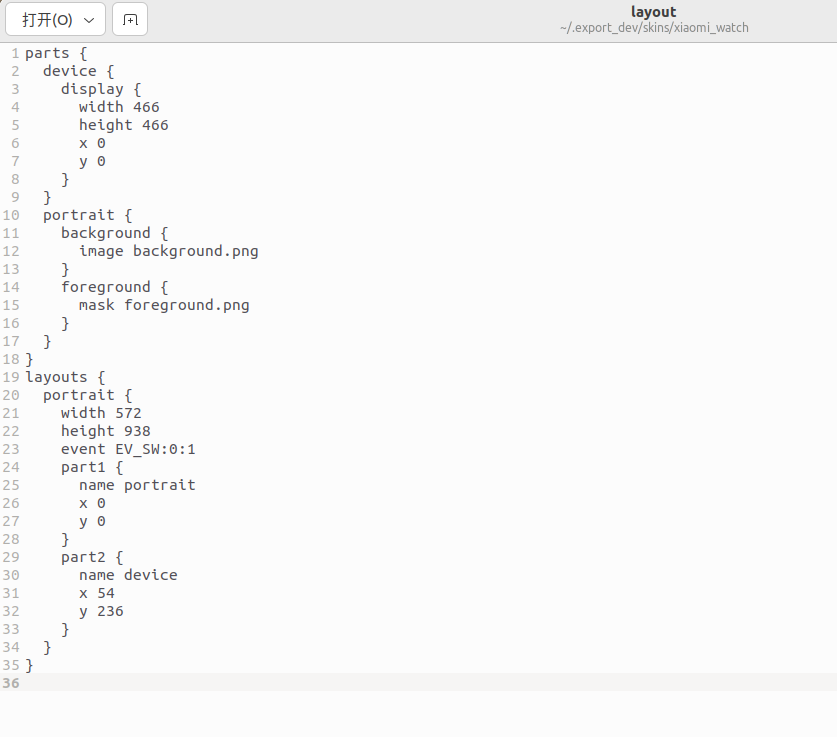
Detailed explanation of layout configuration content:
layout can define two layout methods: portrait and landscape, i.e., vertical and horizontal screens. The width and height are the pixel sizes of your background.png.
event is a fixed value, fill in EV_SW:0:0.
part1 refers to the background image and foreground image defined in the parts above. The name represents the name of the referenced part, and x, y represent the starting coordinates of the layout, starting from the top left corner as 0,0.
part2 refers to the display defined in the parts above. The name represents the name of the referenced part, and x, y represent the starting coordinates of the layout, starting from the top left corner as 0,0.
parts defines the components of the skin, usually consisting of two parts, namely the skin and the emulator screen. The one with display represents the emulator screen, and the one with background and foreground represents the skin.